
How to install a touch pad switch panel
How to install a touch pad switch panel
The Adventure Kings Touch Pad Switch Panel is an all in one kit that allows you to easily connect and switch up to 6 different circuits or accessories on or off!
Install the Switch Panel in your vehicle and you have easy access to the driving aids you need on the go – like off-road lighting, diff locks, sway bar disconnects or rock lights. Install it in the back of your vehicle or canopy for your camping setup and it is ideal for auxiliary power, camp lighting or you can even use it as a trigger for a separate relay to switch on high powered devices such as air compressors.
|
PARTS REQUIRED |
Adventure Kings Touch pad Switch panel, Adventure Kings Plug N Play wiring Harness (optional) |
|
TOOLS REQUIRED |
Phillips head screwdriver, drill, wire crimpers |
|
MATERIALS REQUIRED |
Cable ties, wire terminals (optional) |
PROJECT OVERVIEW
STEP 1
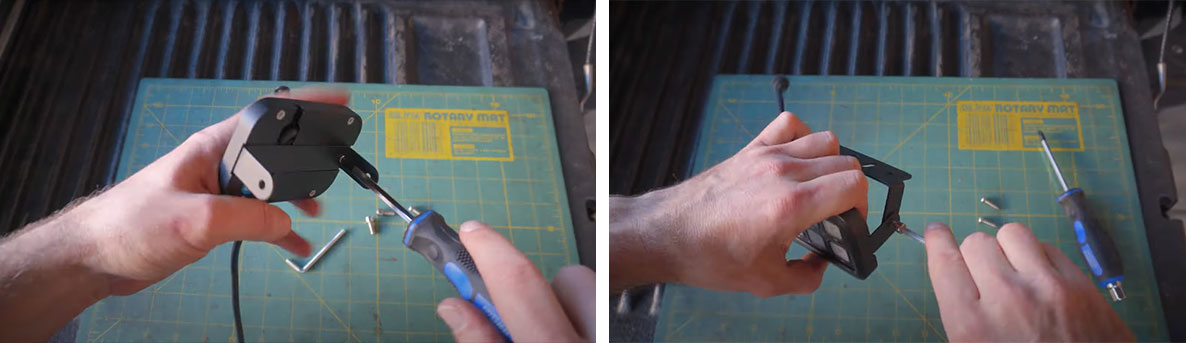
Mount the switch panel using either the double sided tape or pivoting bracket. In this video we have used the pivoting bracket. In either case, the first step is to route your wire and push it into the recess space on the back of the panel so it sits flush. Next, grab the smaller piece of the bracket and align it into the slot & screw it into place with the small, counter-sump screws. After that, grab the other piece of the bracket and position the two sides inside the piece that’s already mounted. Line up the holes and thread the allen-key bolts from the outer bracket and fasten them into the inner piece. Leave this slightly loose in case you need to change the angle of the panel.
STEP 2
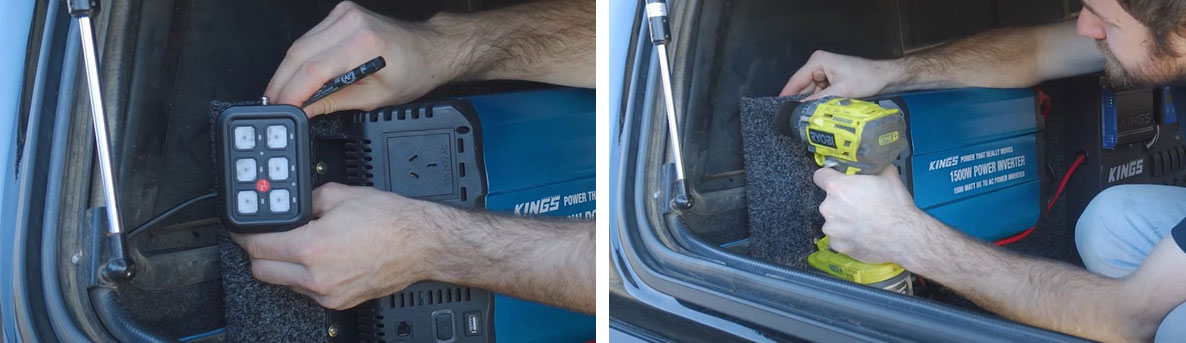
Use the bracket as a guide to mark points to drill. Then drill your small pilot holes and screw bracket in place. Depending on your set-up, you could use the included nuts & bolts instead. Now, you can tighten it up with an allen-key so it doesn’t move.
STEP 3

Next, mount the fuse & relay box. Make sure its in an accessible spot in case you need to replace a fuse, as well as being able to remove the lid and add/tighten down accessory wires.
STEP 4
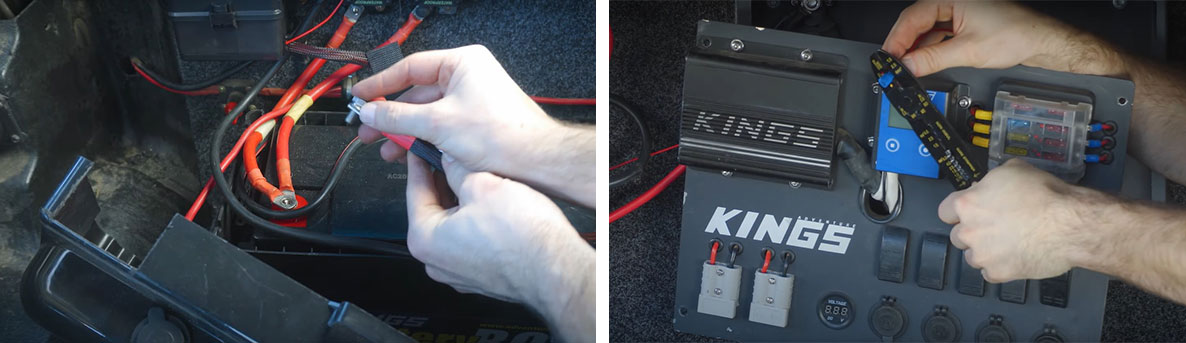
Then, run the main power lead to your positive battery terminal (remembering to add a fuse if you are extending the wire). Next, run the thin red and black wires to a power source and earth. The red wire will illuminate the switch panel, so connecting it to constant power means it’s always on; In this case we have connected the red wire to a switch on the 12V Control Box, but you could also connect it to your accessory or ignition power in your vehicle. We earthed the black wire to the busbar of the 12V Control Box.
STEP 5
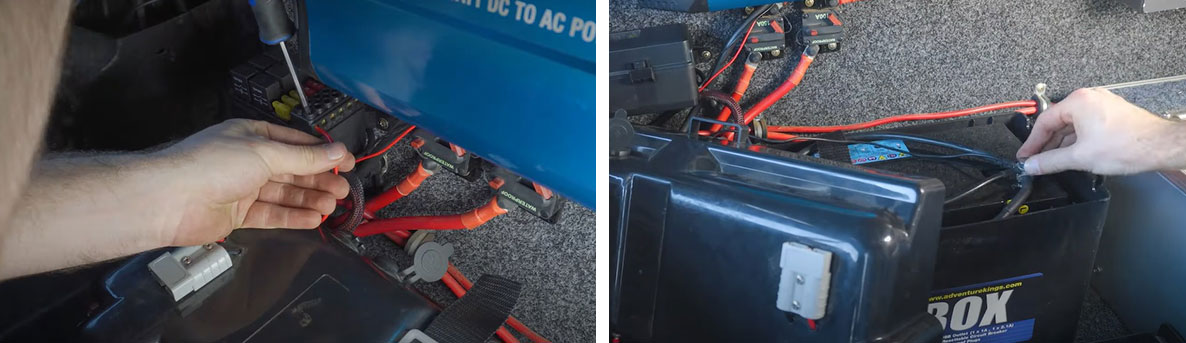
Next, add your accessories or circuits. Connect the positive wire into the fuse & relay box and screw tight with the terminal. Earth your black wire to either the 12V Control Box, a common earth point, or in this case directly to your negative battery terminal. To add more accessories just follow this same step, making sure the fuses are the correct rating.
STEP 6
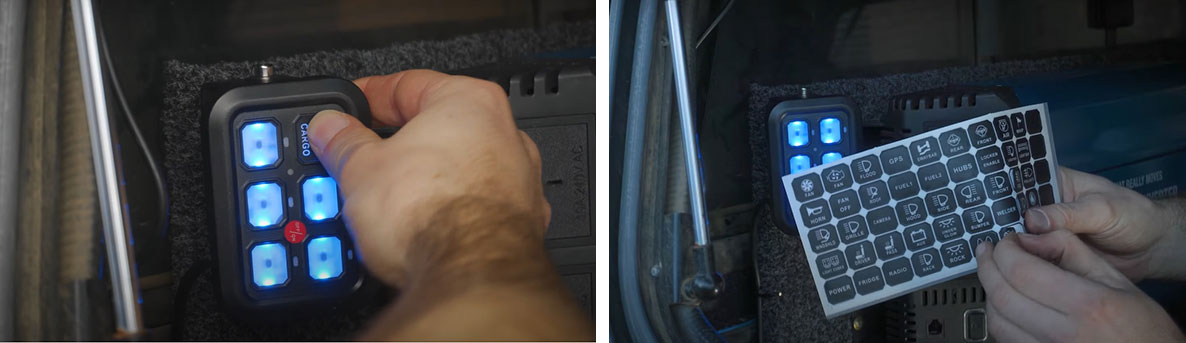
Check that everything works and add the final touches with the correct stickers onto your touch panel and there you have it! You can control 6 different accessories with one handy controller!
Related Products
