


How to Install a Rear Lighting Wiring Harness
How to Install a Rear Lighting Wiring Harness
Looking at running some work lights on the rear or side of your vehicle? No worries! In this video, Mitch runs you through how simple it is to install the Adventure Kings Rear Lighting Wiring Harness, as well as some tips and tricks along the way!
|
PARTS REQUIRED |
Adventure Kings Rear Lighting Wiring Harness, and Adventure Kings 3” Work Lights (optional) |
|
TOOLS REQUIRED |
Spanner, scissors, and wire cutters (optional) |
|
MATERIALS REQUIRED |
Bolt and washer (size will depend on threaded hole size in engine bay), corrugated tubing, and cable ties. |
PROJECT OVERVIEW
STEP 1
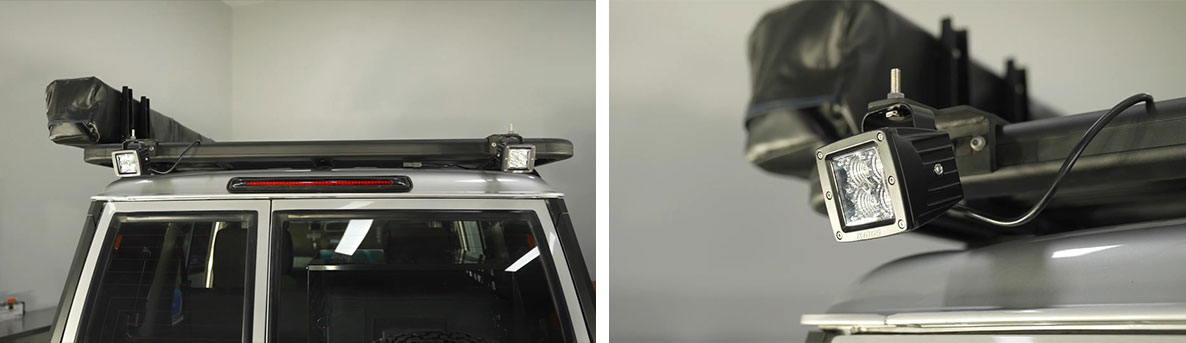
Firstly, mount your lights to your vehicle where you’d like them. In this video, we have mounted a pair of the 3” Work Lights to the rear of the roof rack.
STEP 2
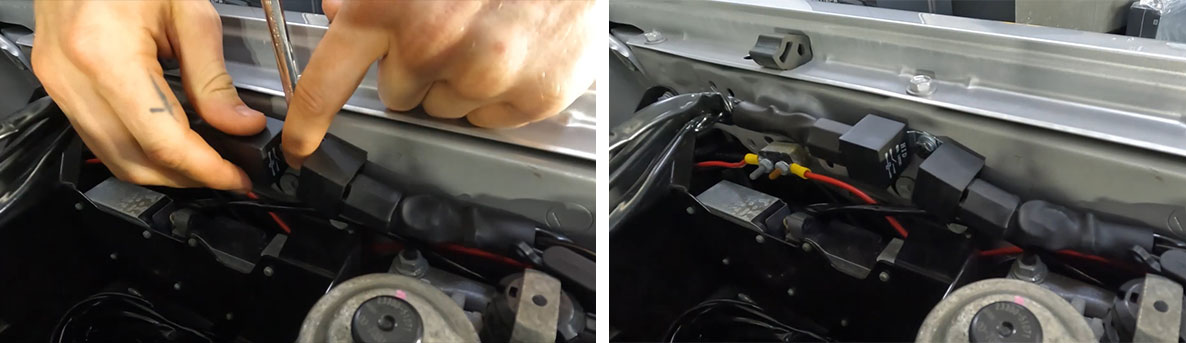
Then, decide where you’d like to fit your relay under your bonnet, and secure it in place with a bolt and washer. Tip: most 4WD’s have threaded holes along the side of the engine bay which you may wish to use rather than drilling holes.
STEP 3
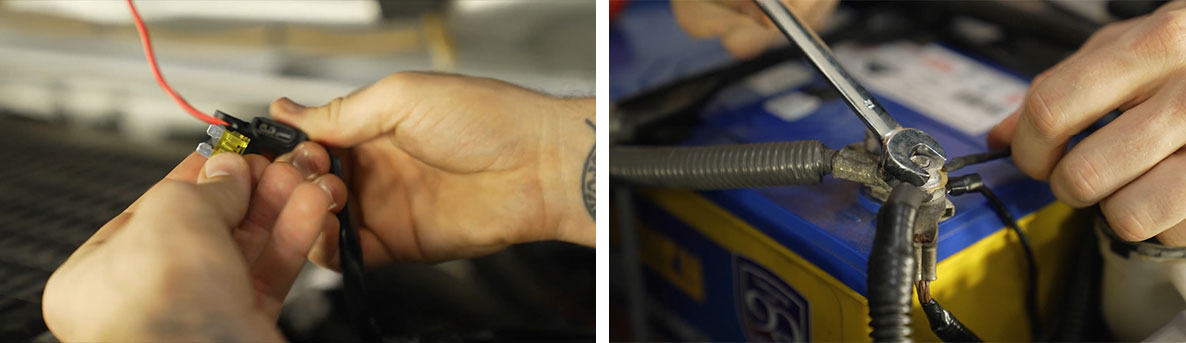
Remove the fuse from the harness for added safety. Then, attach the positive and negative wires to the battery. The positive wire (red) to the positive terminal, and the negative wire (black) to the negative terminal.
STEP 4

Strip the wires, add a spade terminal to the positive and a ring terminal to the negative. Crimp the wires and apply heat shrink.
STEP 5
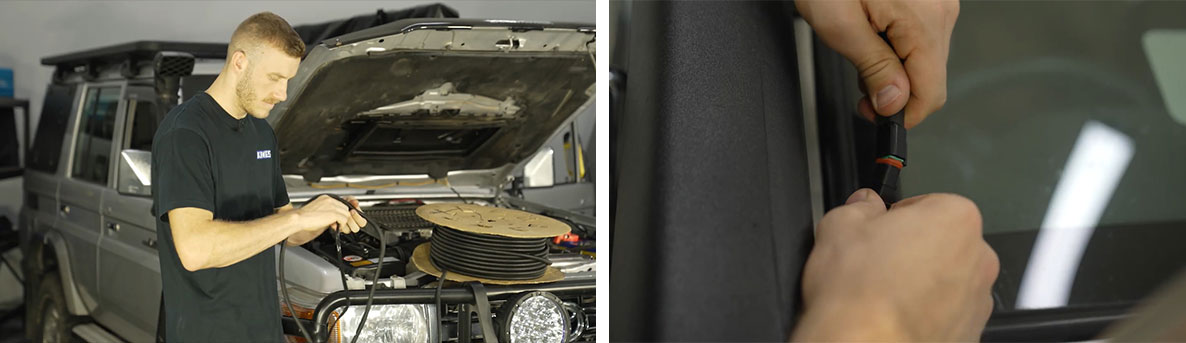
Now, run the deutsch plug cable to the lights; two examples are either along the chassis of the vehicle or up to and along your roof racks. Use the 2m extension cables for extra length where necessary, in this video we’ve only used one. If you’d like, add corrugated tubing to the wires for extra protection against the elements. Tip: If you run the wiring through the engine bay and along the chassis, make sure to avoid the exhaust!
STEP 6

Then, attach the Y splitter cable to the deutsch plug you just ran, and plug in the two deutsch plugs from the Y splitter cable into the deutsch plugs on the lights.
STEP 7
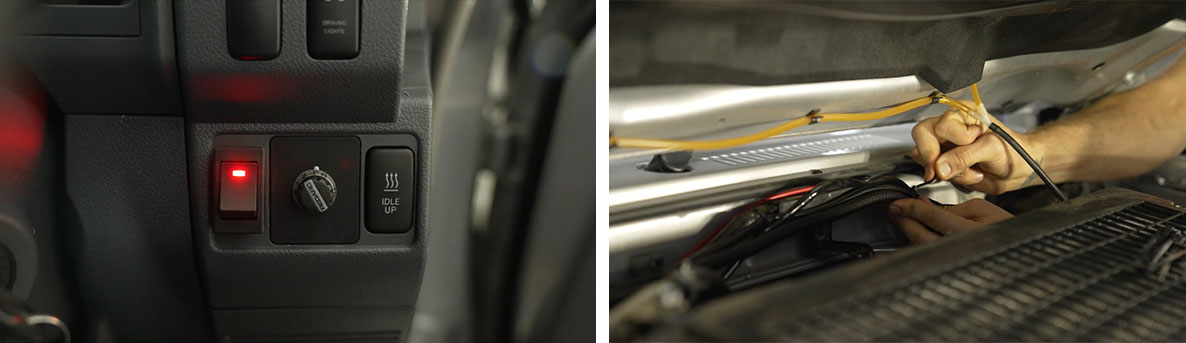
Insert the fuse back into the fuse holder and turn the switch on to test it is all working. Then, tidy up and secure the wiring throughout your vehicle with cable ties, and you’re done!
Related Products

